Applying for a rental
Complete an application for a rental property from account setup through submission, screening, deposit, and lease signing.
Showing Web screenshots
Switch between web app and mobile app screenshots. Step text is the same; mobile images can be uploaded separately.
- Sign in to the Tenant Portal.
- Click Start a new application.
- You will see the property you are applying for.
- Click Begin application.
- Complete the application form with the required information.
Creating an account or signing in to continue the application
- Click Get Started.
- Select Tenant/Resident and click Continue to Create.
- Enter the required information.
- Enter the Registration Code provided by your landlord, or access the application using the invitation link provided.
- Click Create Account.
- Check your email inbox for a verification email.
- Open the verification email and click the confirmation link.
- Return to the portal and sign in with your new account.
Note: Use an email you check often—the manager may contact you there about your application.

Application wizard steps
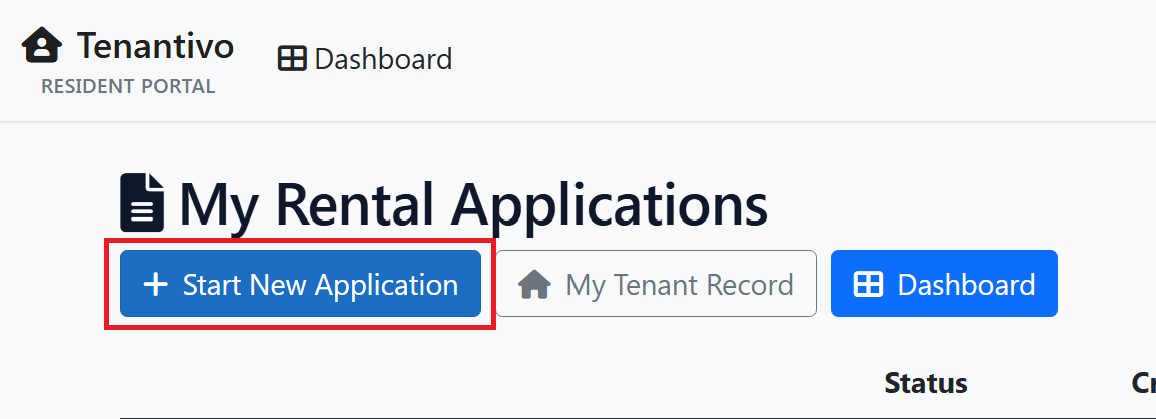
- Sign in to your account.
- Click Start New Application.
- Review the application overview, including required steps and documents.
- Click Begin Application to get started.
- Complete all required application sections.
- Review all information for accuracy.
- Submit the completed application.
Tip: Have your landlord’s contact information, employment details, and required documents ready before starting the application.

Uploading documents (ID, pay stubs, etc.)
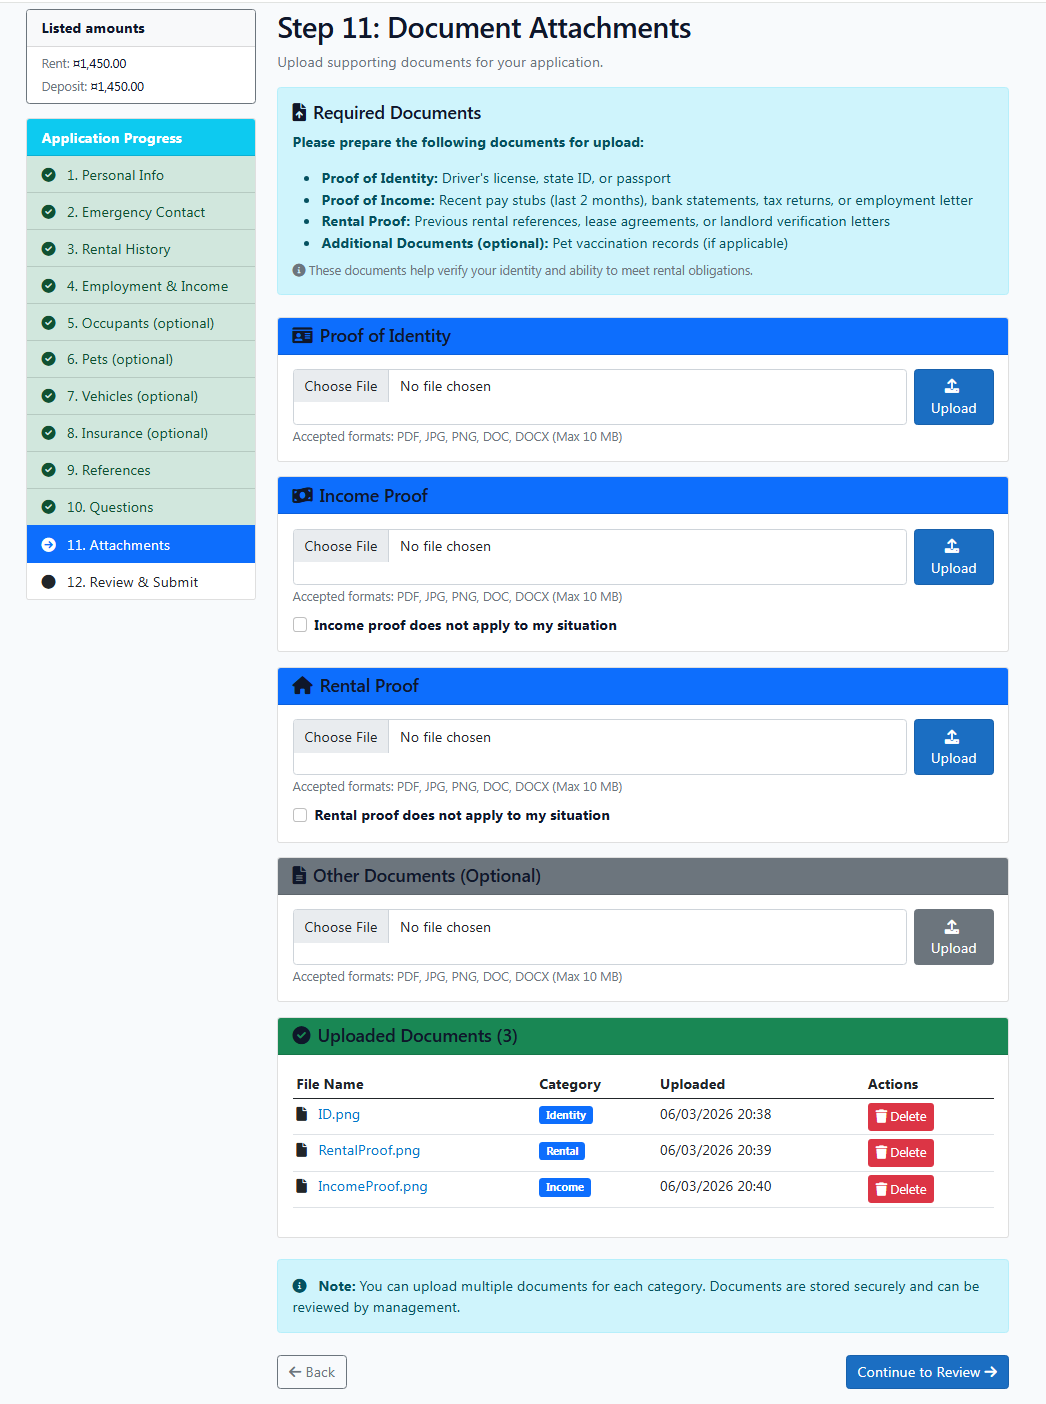
During your application, open the Attachments section to provide documents your landlord needs to review your file. This step is separate from submitting the full application—you are only uploading files here.
- Go to the Attachments section when it appears in your application.
- Upload each required document, such as a government-issued ID, pay stubs, or proof of income.
- Drag and drop files into the upload area, or click Upload to choose files from your device.
- Use PDF or image files that meet the size limits shown on the page.
- Repeat for every document type listed as required before you leave this section.
Note: Use clear, readable scans or photos. Avoid password-protected PDFs. If the manager asks for more documents later, you can upload them when requested— that is not the same as submitting your completed application.

Submitting the application and confirmation
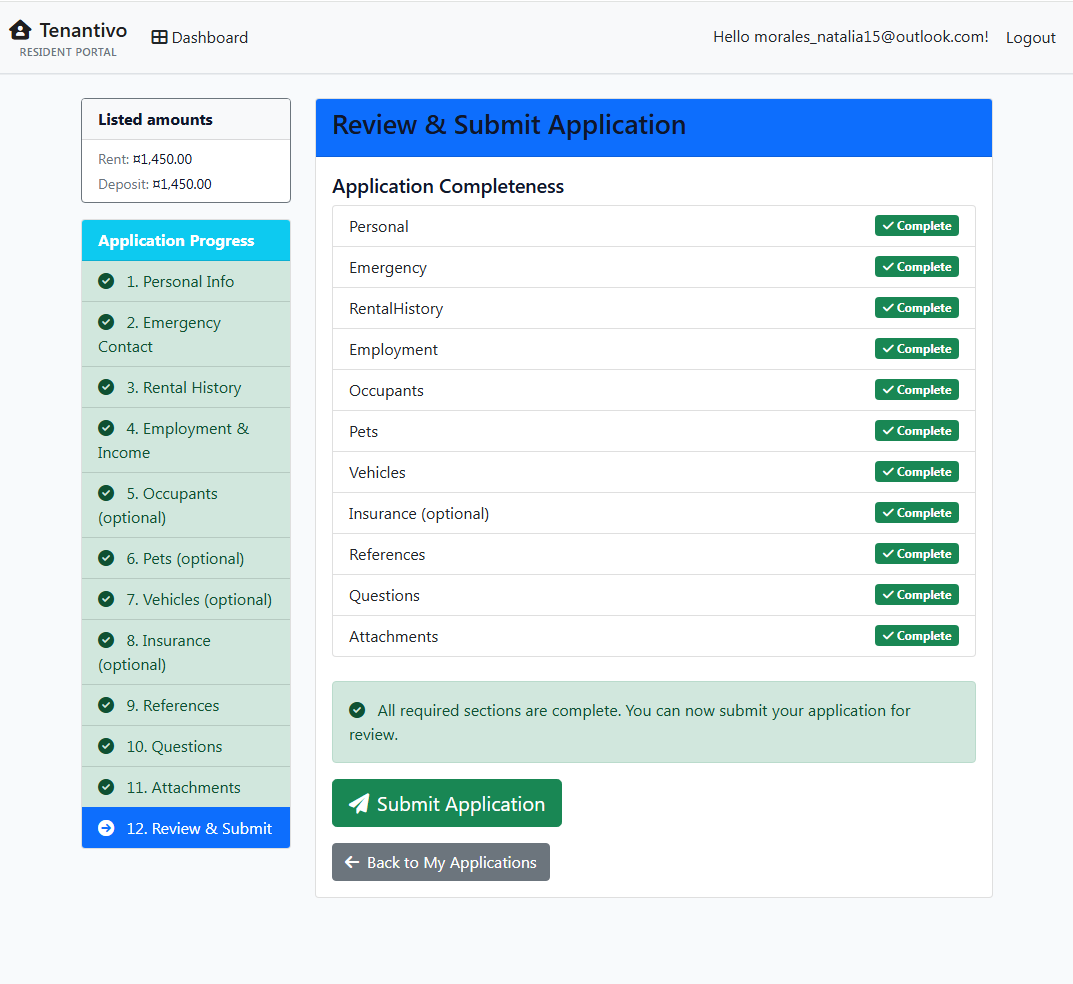
- Review all information before submitting your application.
- Click Submit Application.
- A confirmation pop-up will appear asking if you are sure you want to submit the application. Click OK to continue.
- Wait while the application is being processed.
- You will be redirected to the main page and see a message confirming that your application was submitted successfully.
Tip: After submitting, you usually cannot edit the application; contact the manager if you need to add or change something.

Application fees and payment (if applicable)
- Once the landlord has reviewed and accepted your application, go to My Rental Applications and open Part 2 of the application.
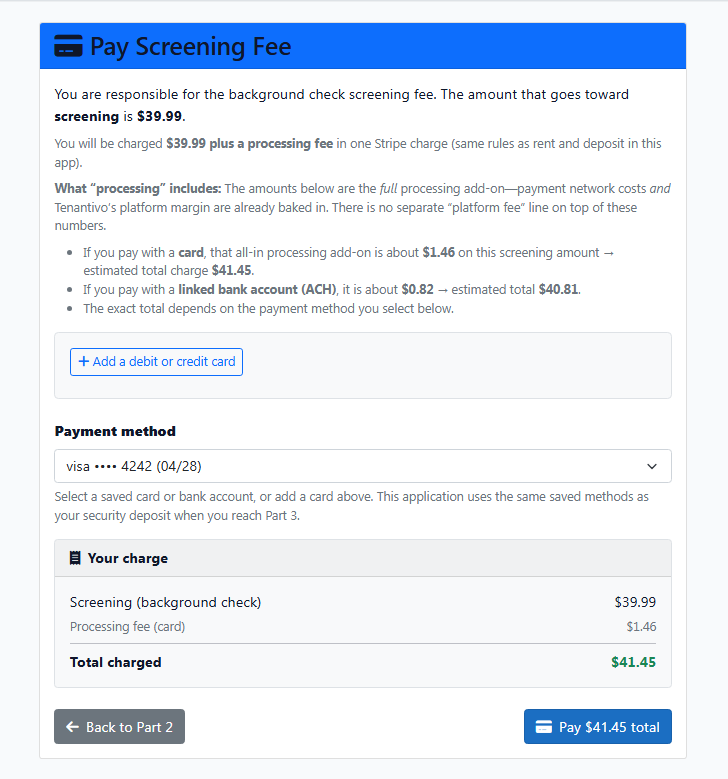
- If the property has a screening fee, you will see the amount displayed in this section.
- Click Pay Screening Fee.
- Enter your payment information and complete the payment.
- After the payment is successfully processed, you will be redirected to the Background Credit Check section.

Background and credit checks
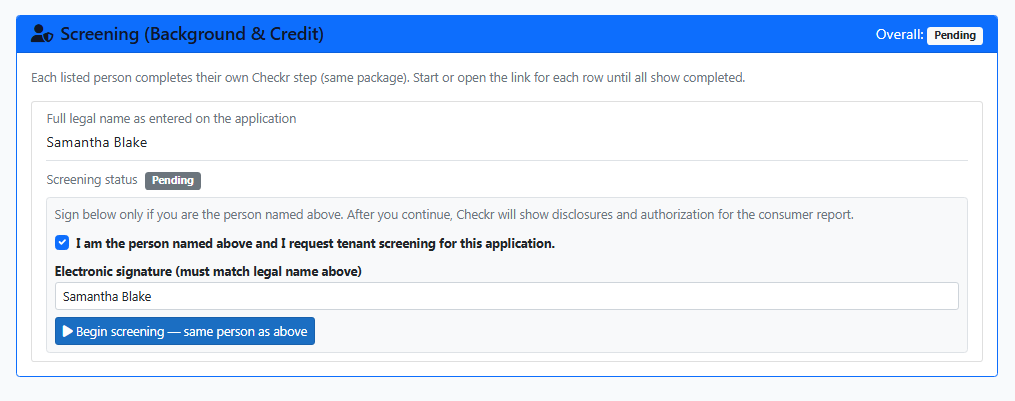
- Read the disclosure.
- Enter your full legal name exactly as it appears on your rental application.
- Select the checkbox confirming that you are the person named above.
- Click Begin Screening or Complete on Checkr.
- You will be redirected to Checkr to complete the screening process.
- Follow the instructions provided by Checkr and complete all required steps.

Security deposit
- Once Part 2 of the application has been approved, Part 3 will become available.
- Click Pay Deposit.
- A new tab will open where you can enter your payment information and select your preferred payment method.
- Enter the deposit amount agreed upon by the landlord.
- Review the Payment Breakdown section to see any additional fees that may apply based on your selected payment method.
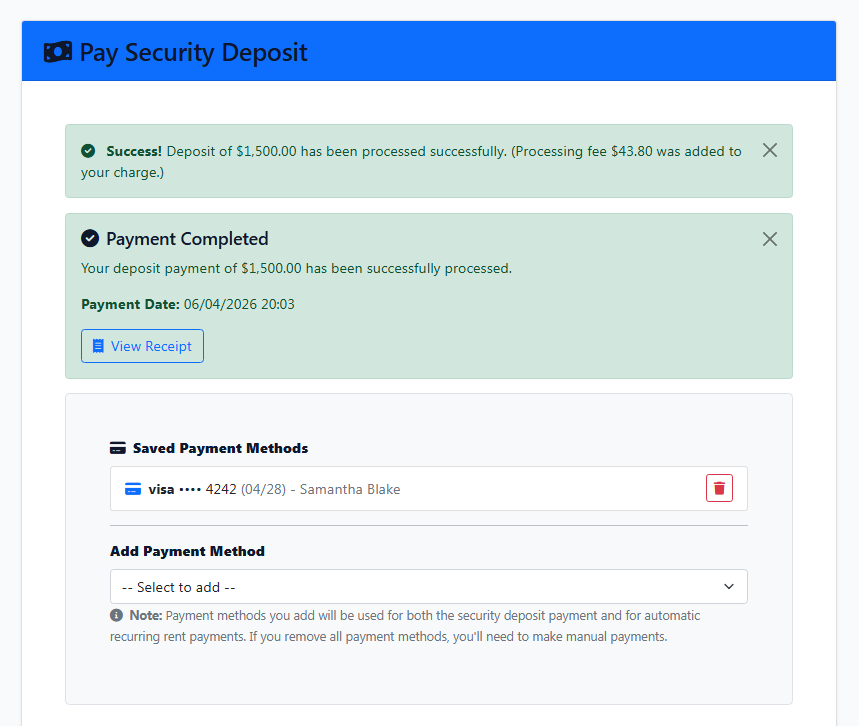
- Click Process Payment.
- A confirmation message will appear indicating that your payment has been processed successfully.

Signing the lease (Firma e-signature)
- Once the security deposit payment has been processed, click Request Lease for Signing.
- Open the lease invitation email.
- Click Sign Documents.
- Review the lease terms and conditions.
- Scroll to the bottom of the document.
- Click Finish to sign the lease.
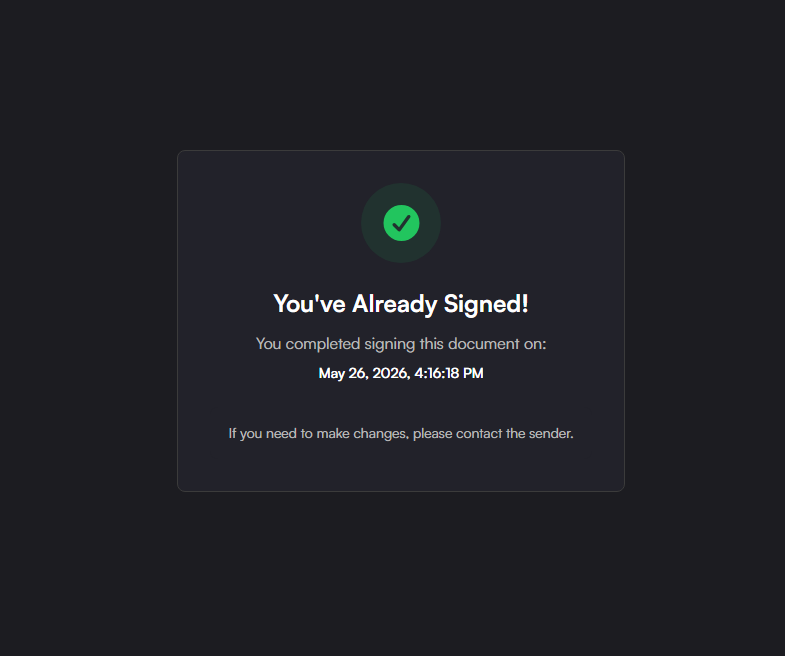
- Wait for the confirmation message indicating that the document has been successfully signed.
Note: The option to request the lease agreement for signing becomes available after the deposit has been paid.

Checking application status and next steps
- Log in to the Tenant Portal.
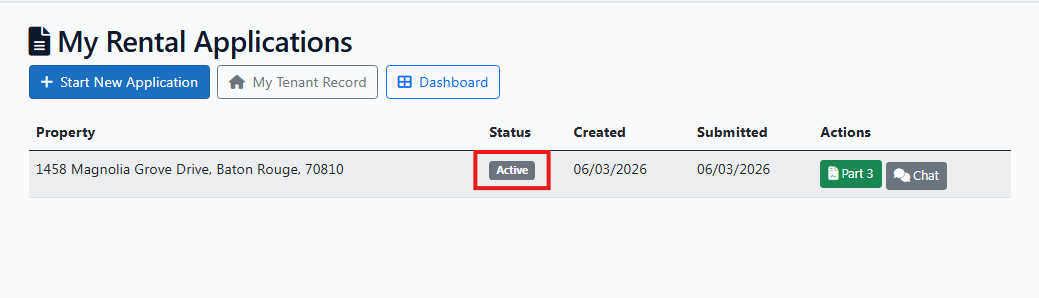
- Open your rental application.
- Review the application status.
- If the status is Pending, wait for the landlord to complete the review process.
- If the application is Approved, the landlord may contact you through the portal or by email with additional instructions.
- If additional documents are required, follow the instructions provided by the landlord.
- Once all requirements have been completed, coordinate your move-in date with the landlord.
- If the application is Declined, review the status details and any information provided by the landlord.
Tip: Regularly check both the Tenant Portal and your email for updates, requests, and important communications from the landlord.

Responding to manager requests
- Log in to the Tenant Portal.
- Review Chats, emails, or letters related to your application.
- Go to the Dashboard.
- Open the letter or Chat.
- Review the requested information or documents.
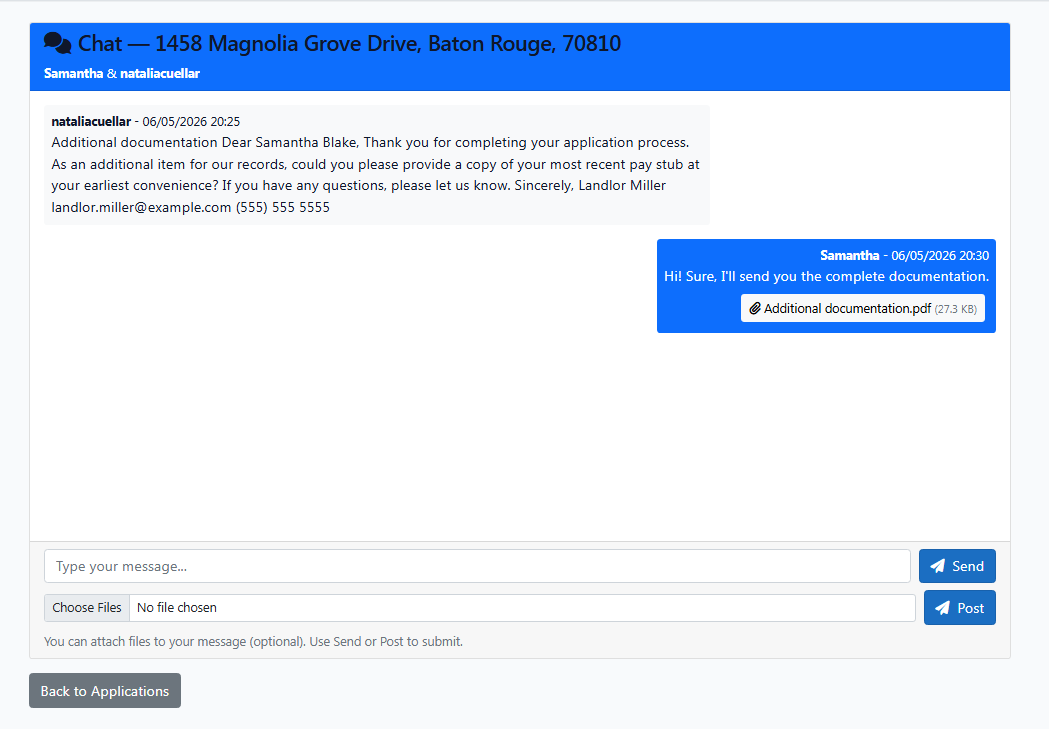
- Contact the landlord through the Tenant Chat or by email.
- Provide the requested information or documents.
- Confirm that your response has been sent successfully.